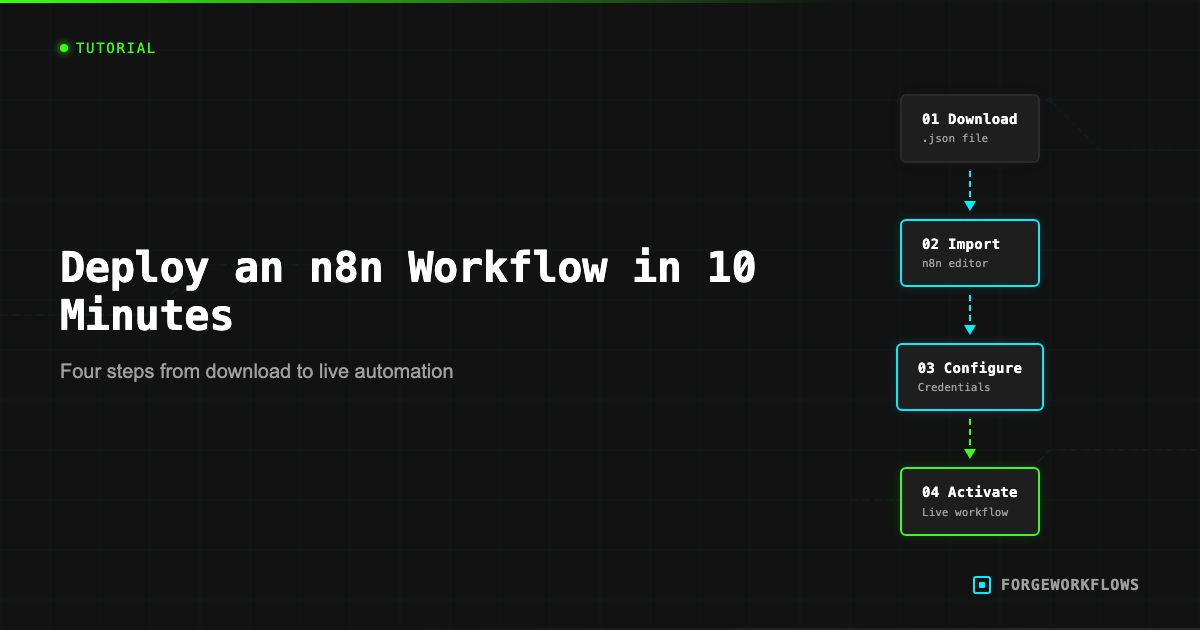
How to Deploy an n8n Workflow Blueprint in 10 Minutes
Prerequisites
Before you start, confirm you have the following in place. Missing any one of these will stall your deployment, so check them off first.
- An n8n instance. Either self-hosted (Docker, npm, or bare metal) or an n8n Cloud account. Version 1.30+ is recommended - earlier versions may lack nodes referenced by newer Blueprints. If you are self-hosted, make sure your instance is accessible from the networks your integrations require (e.g., webhook callbacks from Slack or HubSpot).
- API credentials for each integration. Every Blueprint lists its required credentials in the included
README.mdand the dependency matrix on the product page. Common examples: Anthropic API key, HubSpot or Pipedrive API token, Slack bot token, Gmail OAuth2. Have these ready before importing. - The Blueprint bundle. After purchase, you receive a ZIP file containing the workflow JSON, agent prompt files, an error handling matrix, and documentation. Download and unzip it to a local directory you can access.
- 10 minutes of uninterrupted time. The entire deploy sequence - import, configure, test, activate - takes about 10 minutes for most Blueprints. For example, deploying the Autonomous SDR Blueprint or the Deal Intelligence Agent follows this same sequence. If you encounter credential issues, budget an extra 5 minutes for troubleshooting.
With those in place, you are ready to import.
Bookmark your n8n instance URL and keep your API keys in a password manager. You will reference them multiple times during setup.
Download the Blueprint
After completing your purchase on forgeworkflows.com/blueprints, you receive an email with a download link. The bundle arrives as a ZIP archive. Inside, you will find:
workflow.json- the n8n workflow definition. This is the file you import.README.md- step-by-step deployment instructions specific to this Blueprint.prompts/- agent prompt files in plain text. Each file maps to one agent node in the workflow.error-handling-matrix.md- documents every failure mode and the corresponding recovery path.schemas/- input/output JSON schemas for each agent handoff.
Unzip the archive to a directory you can reach from your browser. You only need the workflow.json file for the import step, but keep the entire bundle - the prompt files and schemas are useful when you customize later.
Verify the JSON file opens correctly in a text editor. If it looks like valid JSON (curly braces, quoted keys), you are good. If the file appears corrupted, re-download from the purchase confirmation email.
Import to n8n
Open your n8n instance in a browser and follow these steps:
- From the n8n dashboard, click Add workflow (top-right) or use the keyboard shortcut.
- In the new empty workflow, click the three-dot menu (upper-right) and select Import from File.
- Select the
workflow.jsonfile from your unzipped bundle. - n8n renders all nodes on the canvas. You should see the trigger node on the left, processing nodes in the middle, and output nodes on the right.
If the import fails with a "node type not found" error, your n8n version may be outdated. Check the Blueprint README for the minimum required n8n version and update your instance before retrying.
After import, do not activate the workflow yet. The next step is configuring credentials - running the workflow without valid credentials will produce errors on every node that calls an external API.
Do not activate the workflow before configuring credentials. Activation without valid API keys will trigger immediate errors and may exhaust retry limits on webhook-triggered Blueprints.
Configure Credentials
Every node that calls an external service (Anthropic, HubSpot, Pipedrive, Slack, Gmail, Stripe, etc.) requires a credential entry in n8n. Here is the process:
- Click on a node that shows a red warning badge (indicates missing credentials).
- In the node configuration panel, find the Credential dropdown.
- Select Create New Credential.
- Enter the required values: API key, OAuth2 client ID/secret, or bot token - depending on the service.
- Click Save. The red badge disappears when the credential is valid.
- Repeat for every node with a red badge.
The Blueprint README lists every credential you need, in the order they appear in the workflow. Follow that list rather than hunting for red badges - it is faster and ensures you do not miss any.
For OAuth2 credentials (HubSpot, Gmail), you will need to complete the OAuth flow: n8n opens a browser window, you authorize the app, and the token is stored. Make sure your browser does not block pop-ups from your n8n instance domain.
For Slack bot tokens, the required scopes are listed in the README. If your Slack bot is missing a scope, the workflow will fail at the Slack node with a missing_scope error. Add the scope in your Slack app settings and reinstall the app to get a new token.
Bearer prefix matters. When entering HTTP Header Auth credentials for Slack or Notion, the value must be "Bearer xoxb-YOUR-TOKEN" - one space between Bearer and the token, no trailing whitespace.
Activate and Test
With all credentials configured, run a manual test before activating:
- Click Execute Workflow (the play button) to run a single manual execution.
- If the workflow uses a webhook trigger, use the test webhook URL that n8n displays when you open the trigger node.
- If the workflow uses a schedule trigger, it will execute immediately on manual run - no need to wait for the schedule.
- Watch the execution flow on the canvas. Each node turns green on success or red on failure.
- Click on any completed node to inspect its output data. Verify the output matches what you expect.
Common issues on first run:
- 401 Unauthorized on an API node - credential is wrong or expired. Re-enter it.
- 404 Not Found on a CRM node - the test record ID does not exist. Update the test input.
- Rate limit exceeded on the Anthropic node - your API plan may have a low rate limit. Wait 60 seconds and retry.
- Empty output from a reasoning node - the input data may not meet the agent prompt criteria. Check the prompt file for required input fields.
Once the manual test passes, toggle the workflow to Active (top-right switch). The trigger node will now fire according to its configured schedule or webhook. Monitor the first 2-3 automatic executions to confirm everything works under real conditions.
Run a manual test with sample data before activating production triggers. This catches credential misconfigurations and API endpoint issues before they affect real workflows.
Troubleshooting
If something goes wrong, start with these diagnostic steps:
- Check the execution log. In n8n, go to Executions (left sidebar) and find the failed run. Click into it to see which node failed and what error message it returned.
- Read the error handling matrix. Every Blueprint bundle includes an
error-handling-matrix.mdthat maps error types to recovery actions. Look up the error code or message you see. - Verify credentials independently. Use the API provider dashboard (Anthropic, HubSpot, Slack, etc.) to confirm your key is active and has the required permissions. Many issues trace back to expired tokens or missing scopes.
- Check n8n version compatibility. Some nodes require specific n8n versions. The README specifies the minimum version. Run
n8n --versionor check the n8n Cloud dashboard to confirm. - Review the agent prompts. If the workflow runs but produces unexpected output, the issue is usually in the prompt. Open the relevant
prompts/*.txtfile and verify the instructions match your use case.
For issues not covered by the error handling matrix, contact support@forgeworkflows.com with: the Blueprint name, the error message, and the execution ID from n8n. The team will respond within one business day.
For background on how every Blueprint is tested before listing, see the Inspection and Test Plan (ITP) documentation. Understanding the ITP process helps you interpret test fixtures and expected outputs when debugging.
Related
Frequently Asked Questions
Do I need coding experience to deploy an n8n workflow?+
No. ForgeWorkflows blueprints ship with a 10-Minute README that walks through import, credential configuration, and activation. The workflow JSON handles all logic — you configure, not code.
What happens if I make a mistake during setup?+
n8n workflows are non-destructive on import. You can delete and re-import at any time. The README includes a troubleshooting section for common setup issues.
Can I deploy a ForgeWorkflows blueprint on n8n Cloud or only self-hosted?+
Both. The workflow JSON imports identically into n8n Cloud and self-hosted instances. Credential setup differs slightly between environments, but the README covers both paths.